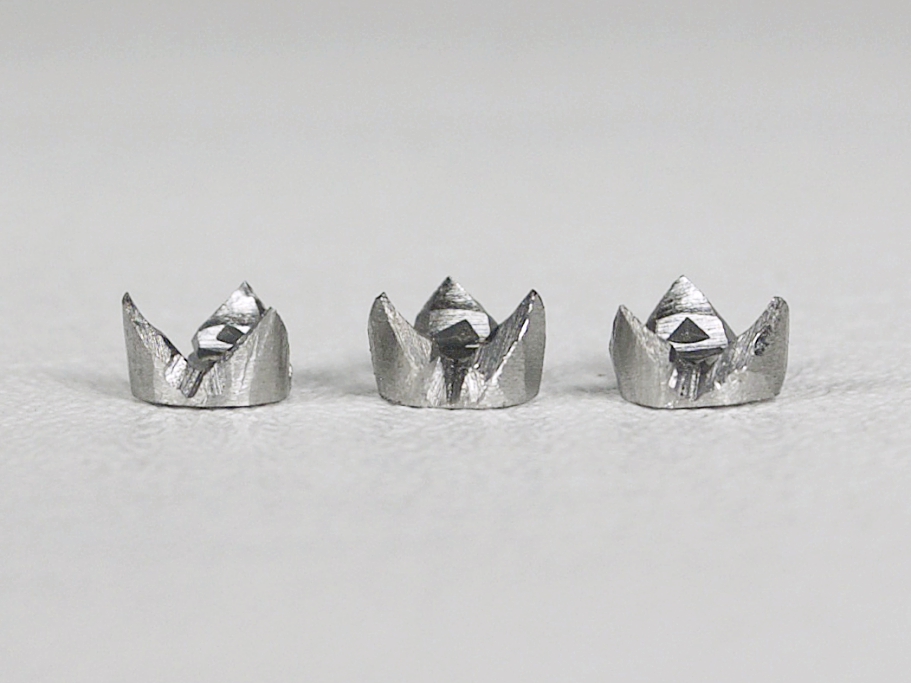
A point d’arret (pronounced point dah-rey) is an excellent and important addition to dueling swords. Point d’arrets affix with waxed thread to the nail head point of dueling sword blades to better simulate stopping power. They usually have three sharpened prongs, one of which aligns with the bottom edge of the blade. Point d’arrets have been mentioned and recommended by many fencing masters since at least the 19th century.
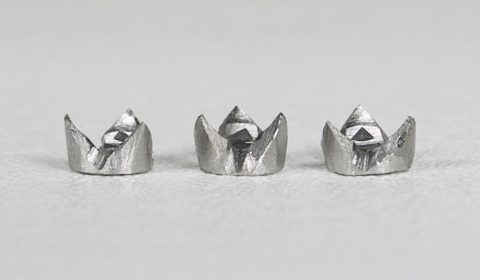
The primary target for the dueling sword is the hand and arm which may be difficult to hit with a rubber or leather tip. The point d’arret’s sharpened prongs catch the jacket or glove’s fabric to simulate penetration into the hand or arm. Point d’arrets are crucial to maintain the proper mentality of a sharpened sword.
What You Need
- Point d’Arret
- Waxed cord.
- Vice with leather or cloth to pad vice jaws
- Scouring pad to clean blade
- Scissors
Prepare Blade
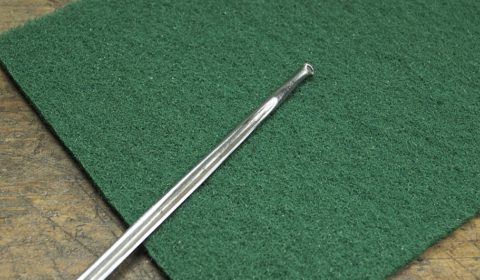
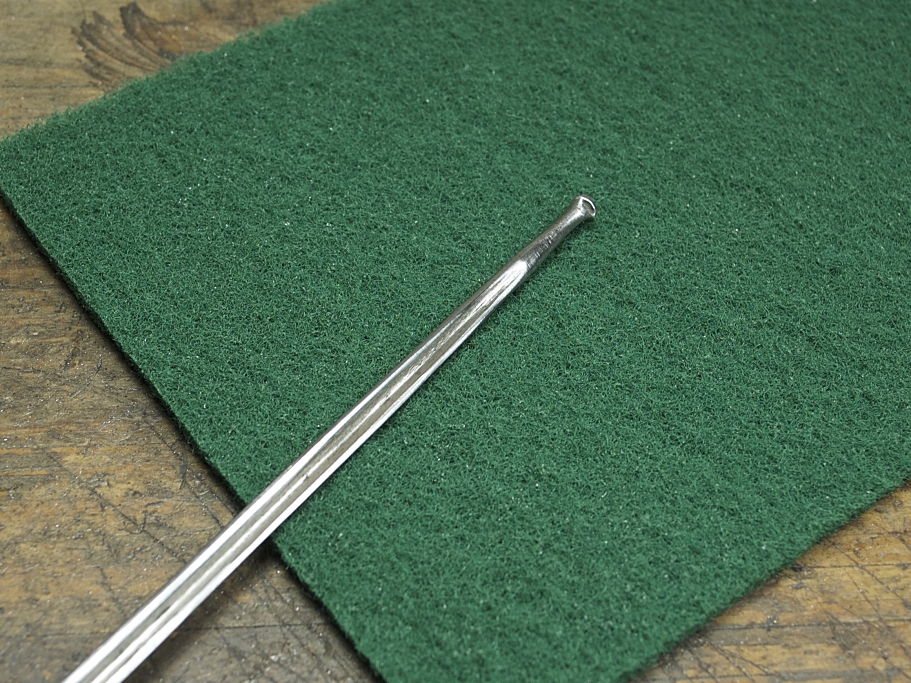
Remove the existing button and any residue it may have left behind. Use a scouring pad to completely clean the blade of rust and adhesives. Some blade’s nail heads may be imperfect and/or not perpendicular to the blade. This should be corrected by carefully filing the nail-head flat prior to mounting your point d’arret.
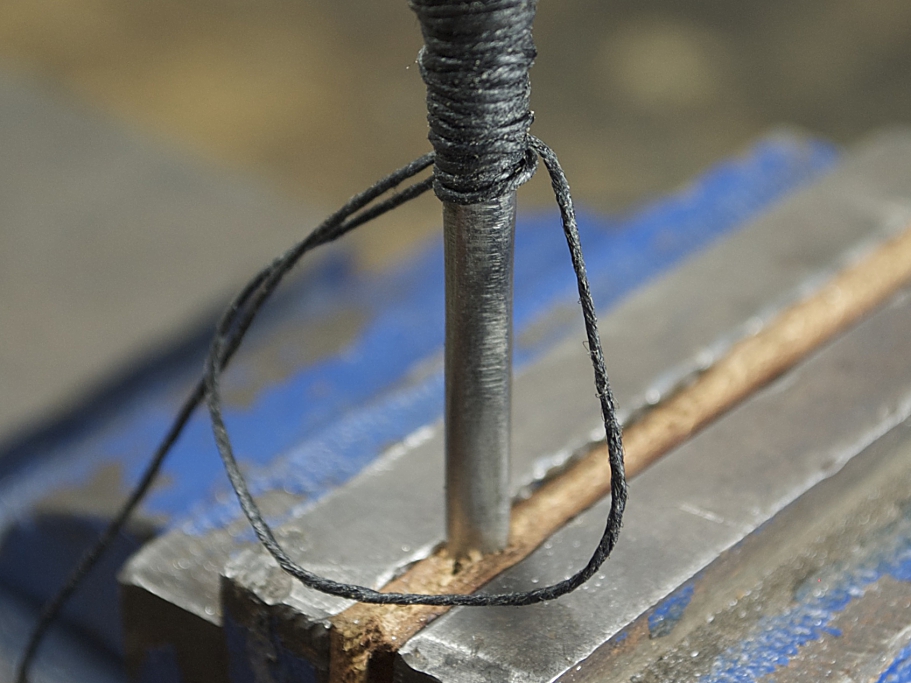
Fixture Blade
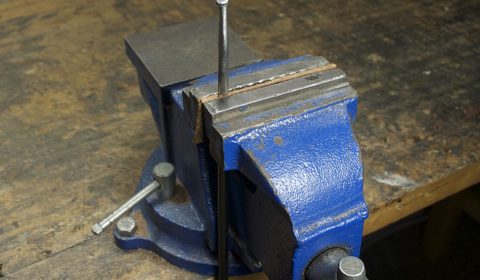
Use a vice to hold the blade in place while you work. Align the bottom of the blade’s ‘V’ cross section towards you. Use piece of leather or cloth on either side of the vice jaws to prevent damage to the blade. It’s possible to do this without a vice but it will be more difficult to wrap tightly and securely.
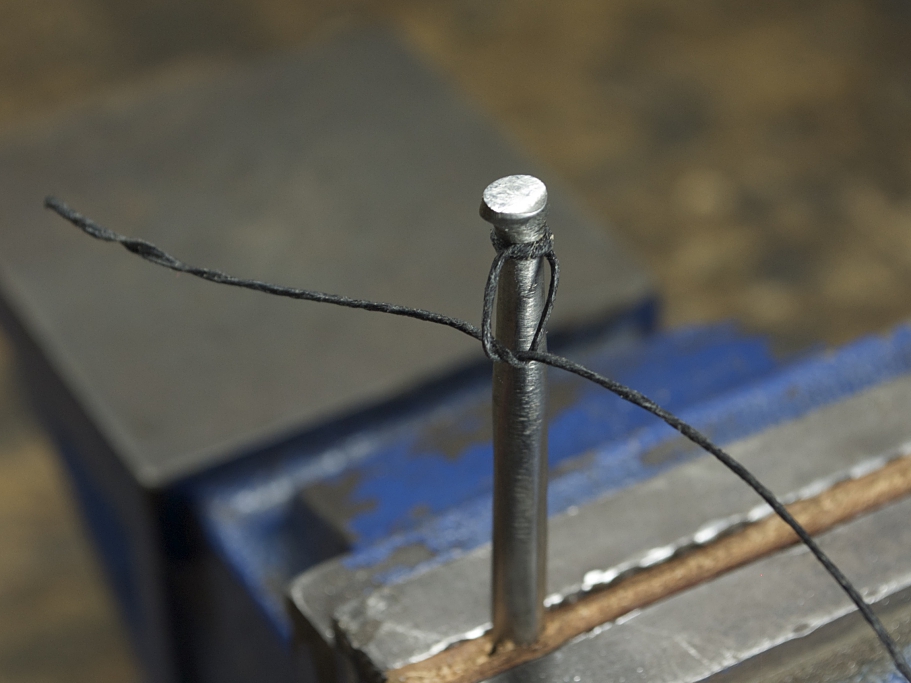
Anchor Cord
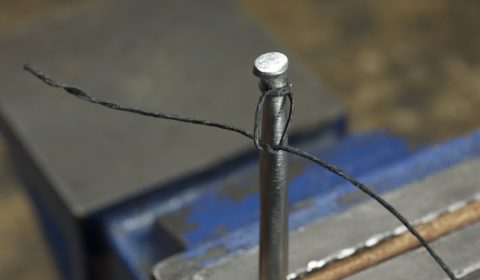
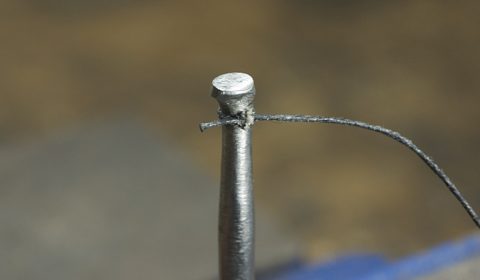
Anchor the waxed cord to the blade with a double knot just below the nail head. Trim cord about a quarter inch from knot.
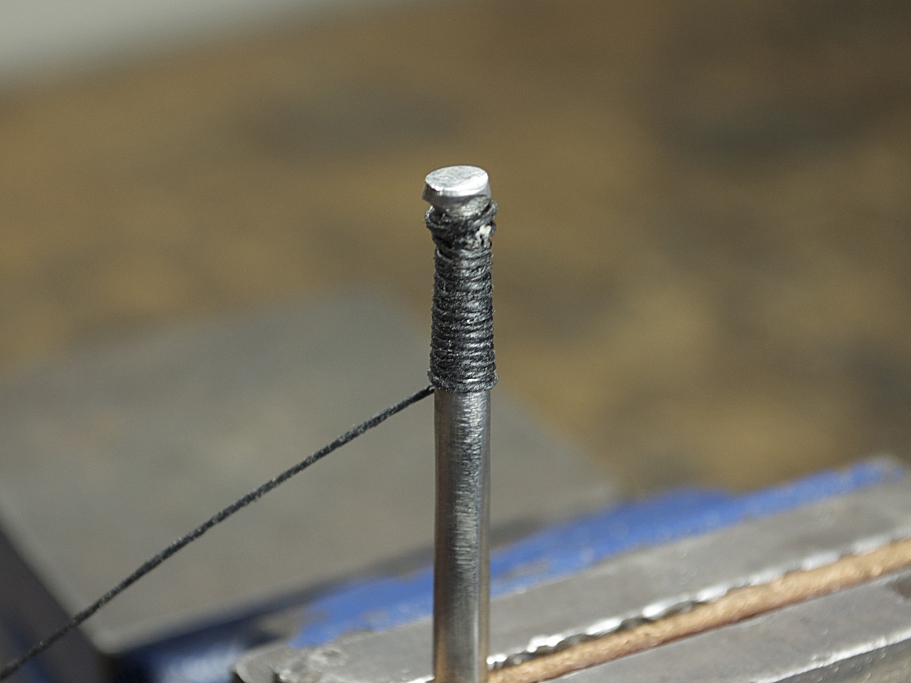
Set Base Wrapping
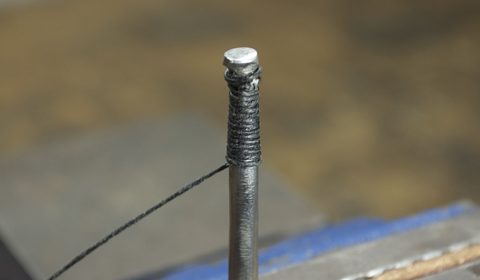
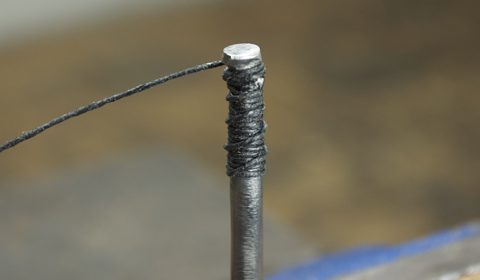
Wind the waxed cord evenly down the blade about an inch. Larger nail heads should be wrapped about 1.5 inches. Once at the bottom, wind the cord back up to just below the nail head with even spacing.
Set & Align Point d’Arret
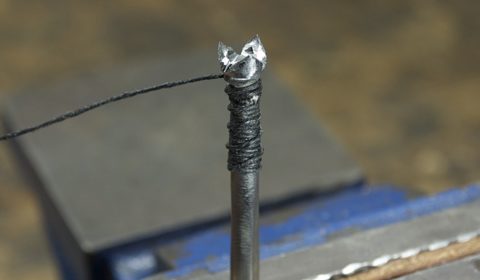
Set the point d’arret on the nail head with your favorite prong aligned with the bottom of the blade’s ‘V’ cross section. This bottom prong is utilized more than the others in dueling sword technique. Occasional remounting and rotation of the point d’arret to utilize all three prongs in this bottom position can help extend it’s life.
Loosely Secure

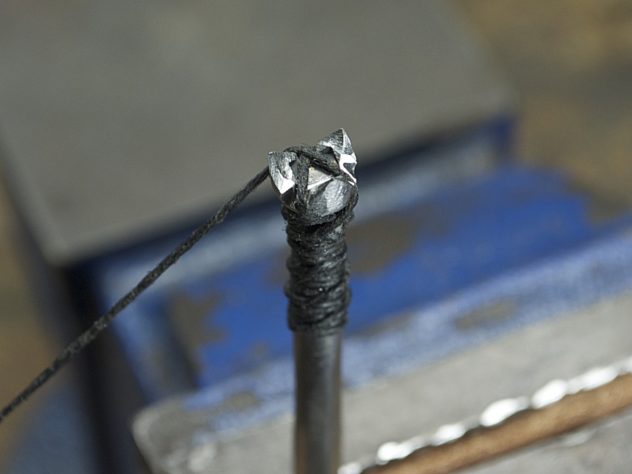

Start looping the waxed cord over the point d’arret between it’s prongs and down the base wrapping on the blade. Wrap one rotation around the blade for each loop over the point d’arret to lock the cord in place. Alternate wrapping between different prongs of the point d’arret. Wrap this loosely though without slack to set the point in place paying careful attention to keeping the bottom prong aligned with the bottom of the blade’s ‘V’ cross section.
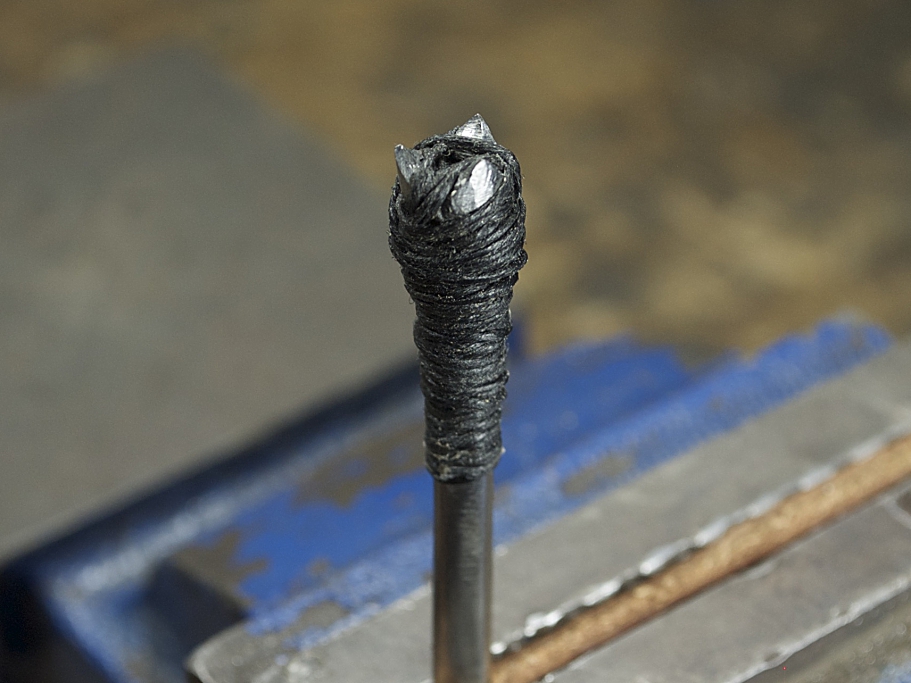
Tightly Secure
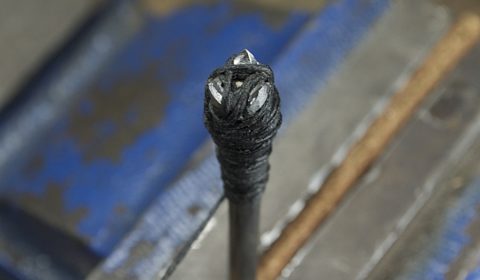
Once the point d’arret is loosely secure so that it wont twist or immediately fall off, increase your cord’s tension and start tightly wrapping the point in the same manner as the last step. Occasionally wind the cord only around the blade to lock down the loops over the point d’arret. Continue wrapping until the point is completely secure and until the cord has almost filled the gaps between the point’s prongs. Test the fitting by trying to displace the point d’arret side to side. The point should not move or shift when wrapped tightly and correctly. Wrap below the point d’arret as needed to give an even taper and transition from point d’arret to blade.
Tie Off

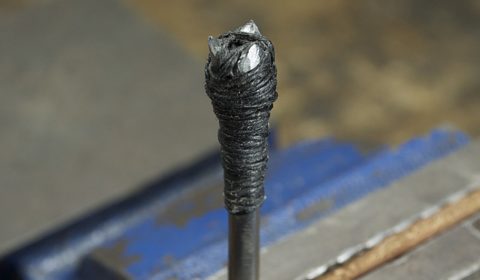
Tie off the cord with a few double knots. Pull the knots tight so that the waxed cord sinks into the wrapping and squeezes off excess wax. Trim the cord about a quarter inch from the wrapping.
Finished!